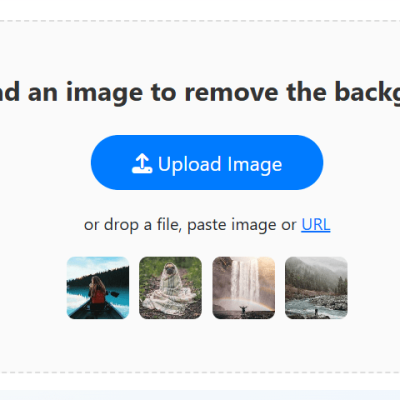
Background eraser is the ultimate photo-snipping tool to erase the background out of your content. It also helps you to get a new background for your pic.
Tool to Erase and Add Backgrounds:
Use our cutting-edge tool to effortlessly erase backgrounds from your content and replace them with a new background of your choice. You can select from a variety of background options we provide or upload your own image from the library.
Instantly crop your photo and add a new background that seamlessly integrates, giving the illusion that you were actually present in the new setting. Utilize the cropped image as a stamp with options to resize, rotate, and adjust its position. The auto option automatically removes most of the background image.
Key Options:-
Auto Mode – Erases the background, making it transparent and seamlessly integrating it with your picture.
Crop Mode – Snip your photo by drawing outline strokes.
Background – Choose from 20+ backgrounds that complement your cropped picture.
Gallery – Select a background image from your picture folder.
Save and Share – Save the image with the new background and share it on social media with friends and family.
The result of using this app will make it seem as if you were actually in a new place. Save it as a stamp and use it in any of your photos. Keep sharing your edited pics!
Editing your pictures can be time-consuming, especially when dealing with unwanted elements. However, with ‘Background Eraser,’ it’s as simple as sipping coffee. Don’t wait; try our new and amazing features to edit your pictures within minutes.
Cutting or removing parts from a picture can be a headache, but with ‘Background Eraser,’ we offer an easy-to-use feature called ‘Paste Photo.’ Transform your hour-long task into a matter of minutes by following these steps:
Step 1: Open the Paste Photo tool to begin editing. Click on the Cutout icon, select the Auto-Cut Image option, and apply the cutout to your image.
Step 2: Click on the Photo icon to add your image.
Step 3:- Click on the Camera icon to capture a photo using your device’s camera.
Step 4:- Click on the Background icon and choose your favorite background. The application also provides a wide variety of background images for you to easily select from. Additionally, if you prefer using a background color, you can effortlessly choose from the numerous color options available in the Background Eraser Application.
Step 5:- Click on the Stickers Icon and add stickers to your images. The Background Eraser Application also offers a wide range of different types of stickers for you to choose from. Easily select your favorite sticker and apply it to your image.
Step 6: Click on the Add Text icon to write and insert text into your image.
Use the Font Style option to change the font of your text.
Click on the Background option to set a background behind your text. The Background Eraser application offers a variety of background styles to choose from.
Explore the Text Style menu to customize the overall look of your text. You can adjust the font shadow, character spacing, line spacing, text alignment, and caption controls to your preference.
Step 8: Click on the Status icon to add a status or quote. The Background Eraser application provides a wide selection of quotes that you can easily apply to your creation.
Step 9: Click the Save button to save your creation in both JPG and PNG formats. You can also share your creation with family and friends directly from the app.
Conclusion
That’s it! You’ve just successfully turned your first Background Eraser into a shareable masterpiece.
Did you run into issues? Have any questions? Be sure to send us a message and we’ll be here to assist you!
Cheers!
Popular Posts
All Posts
Abstract Coloring Book
Add Music To Videos
Adult Coloring Book With Multiple Templates & Colors