
If you’re running a WordPress website, you already know how powerful it is for managing content, design, and functionality. But to get the best results, you need the right tools to help you optimize performance, monitor activity, and simplify day-to-day tasks. That’s where WaspWeb comes in.
In this post, we’ll walk you through how to use WaspWeb on our WordPress site — from installation to setup and everyday use — so you can take full advantage of what it offers.
What Is WaspWeb?
WaspWeb is a versatile tool designed to make managing your WordPress website easier and more efficient. Whether you’re maintaining a business site, blog, or eCommerce store, WaspWeb helps you:
Track your site’s performance
Monitor uptime and visitor activity
Improve SEO and content visibility
Manage updates and security
Access analytics and reports in one place
It’s built to integrate smoothly with WordPress, so you don’t need to be a developer to use it.
Step 1: Log In to Your WordPress Dashboard
To begin, log in to your WordPress admin panel. This is your main control center where you can manage plugins, themes, and all the tools that power your site.
Once you’re logged in, you’ll be ready to connect WaspWeb to your WordPress setup.
Step 2: Install the WaspWeb Plugin
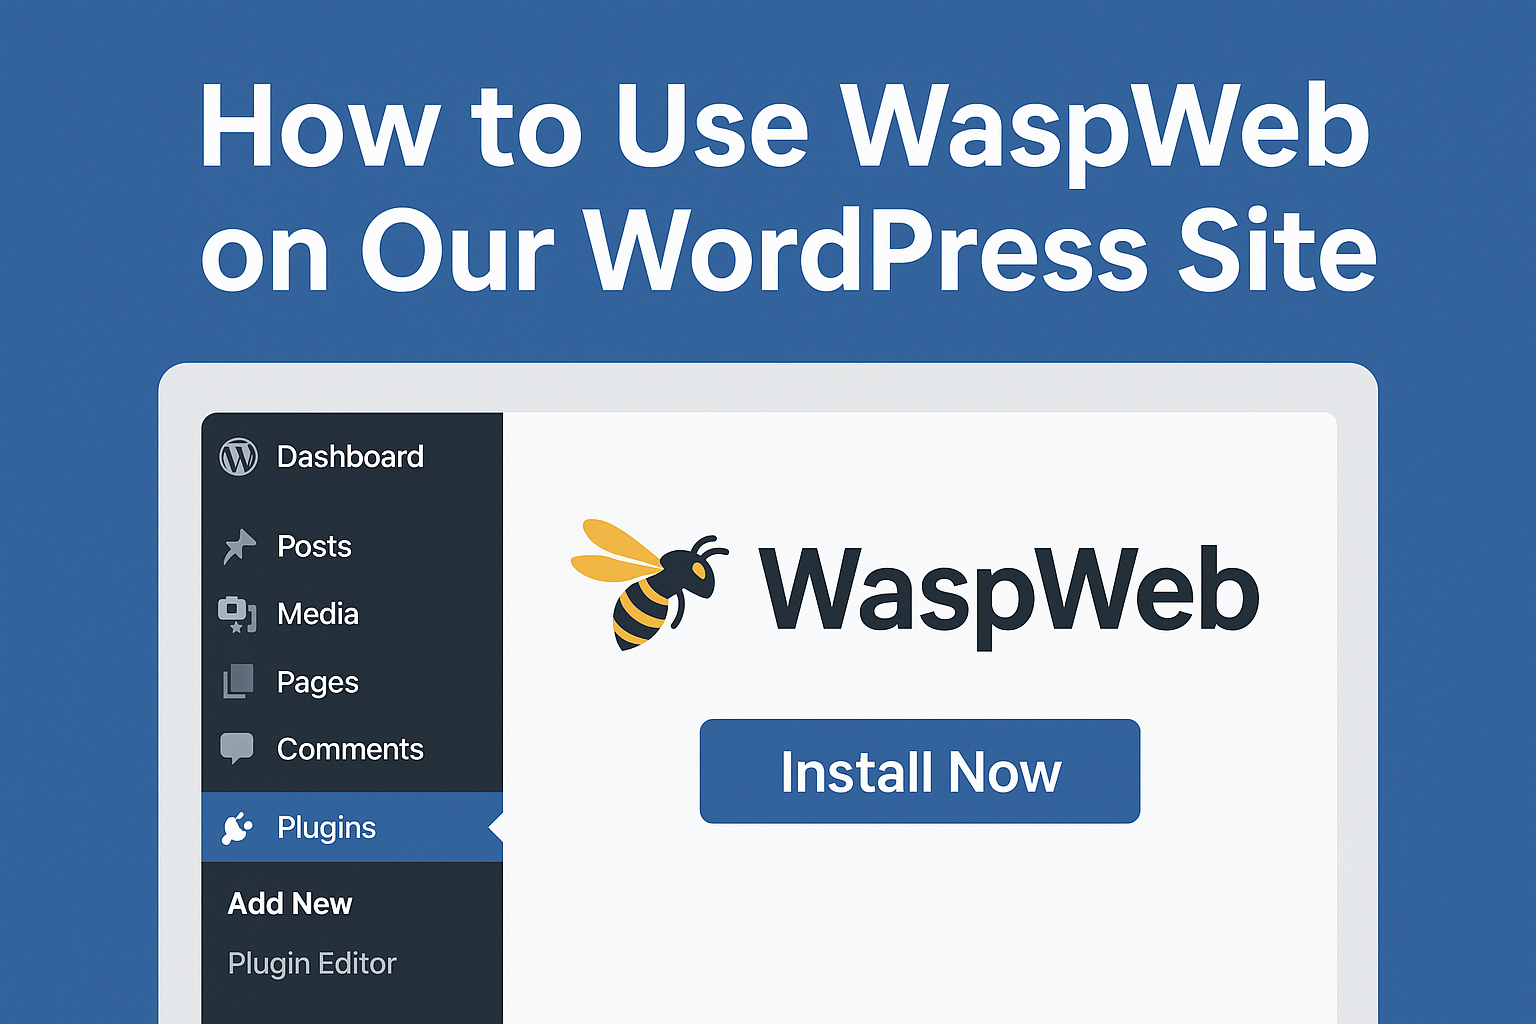
Installing WaspWeb is simple. You can do it directly from your WordPress dashboard:
Go to Plugins → Add New
In the search bar, type WaspWeb
Click Install Now
Once it’s installed, click Activate
If you’ve been given a custom WaspWeb plugin file (a .zip file), you can upload it manually:
Go to Plugins → Add New → Upload Plugin
Choose the file from your computer
Click Install Now, then Activate
Once activated, you’ll see a new WaspWeb option in your WordPress sidebar.
Step 3: Set Up and Configure WaspWeb
Open the WaspWeb tab in your dashboard. Here, you’ll be guided through the setup process.
You may need to:
Connect your WaspWeb account or API key
Choose which site metrics you want to track
Enable tools like SEO insights, performance reports, or content optimization
Each setting can be customized depending on your goals — whether you want to focus on speed, analytics, or content strategy.
Step 4: Explore Key WaspWeb Features
Once everything is connected, WaspWeb gives you access to powerful tools right inside WordPress. Some of the most popular features include:
1. Site Performance Tracking
Monitor how fast your pages load and get insights into what’s slowing them down. A fast website improves user experience and SEO ranking.
2. SEO Optimization Tools
WaspWeb helps identify missing meta tags, keyword gaps, and on-page SEO improvements, so your site can rank higher on search engines.
3. Analytics and Reports
You can see real-time visitor data, top-performing pages, and traffic trends without switching between different platforms.
4. Content Management
From one dashboard, you can review, update, and optimize your blog posts or pages. It’s a simple way to stay consistent with your content strategy.
5. Security and Maintenance
WaspWeb can help you monitor uptime, detect issues early, and keep your site secure with timely updates.
Step 5: Keep Everything Up to Date
For the best performance, always keep both WordPress and WaspWeb updated. Updates not only add new features but also improve security and compatibility with your theme and other plugins.
You can turn on automatic updates in your plugin settings to make sure you never miss an important release.
Why Use WaspWeb on WordPress?
Using WaspWeb on your WordPress site helps you save time and improve performance without juggling multiple tools. It centralizes analytics, SEO, and optimization — giving you a clearer view of how your website is doing and what needs attention.
If you’re looking for a reliable, easy-to-use tool for better site management, the WaspWeb WordPress integration is one of the best ways to enhance your workflow.
Final Thoughts
Using WaspWeb on your WordPress site is one of the easiest ways to streamline website management. It brings together performance tracking, SEO tools, and analytics — all within your WordPress dashboard.
Whether you’re just starting out or managing multiple sites, WaspWeb gives you the clarity and control you need to grow with confidence.
If you haven’t tried it yet, log in to your dashboard, install the plugin, and see how WaspWeb can make running your WordPress site smoother and more effective.

